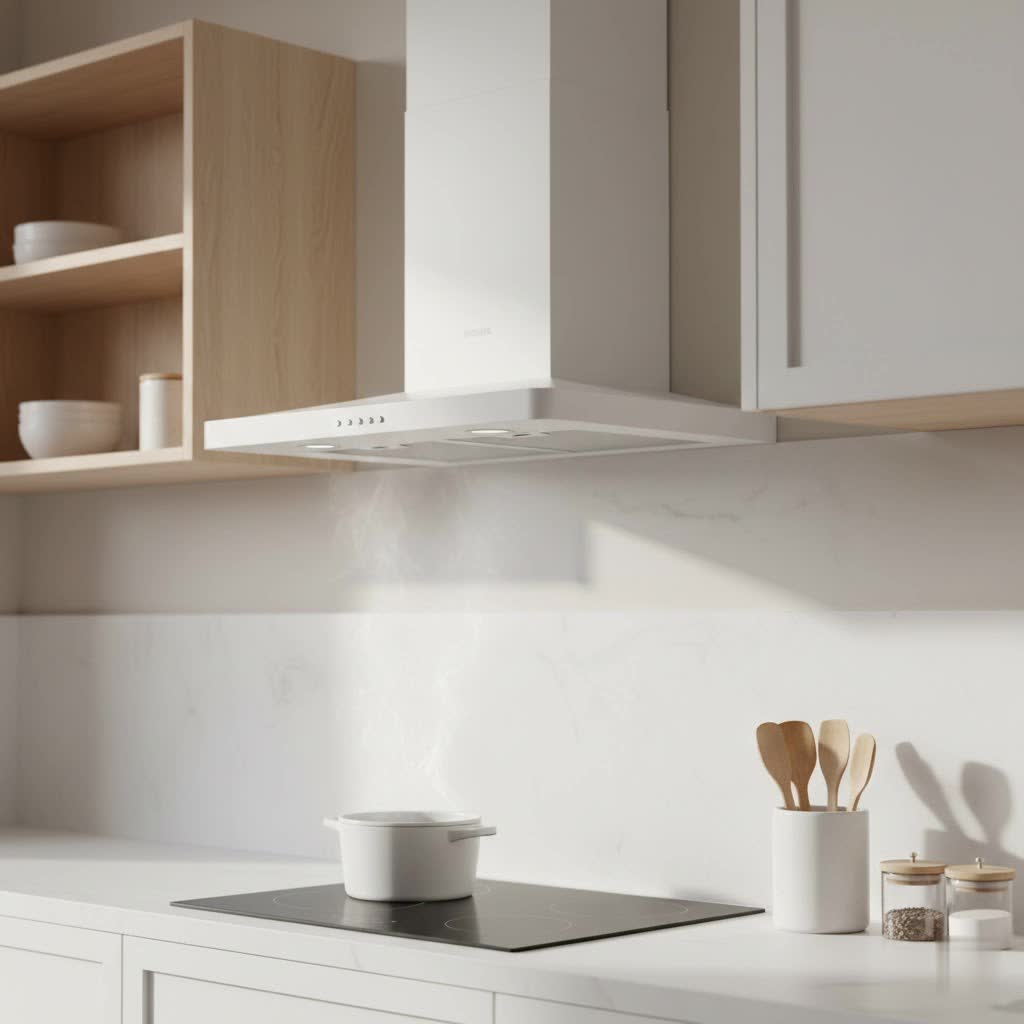
For many homeowners, the kitchen is the heart of the home, a place for culinary creativity and shared moments. However, cooking inevitably produces smoke, grease, steam, and odors that can impact indoor air quality and linger long after the meal is done. A powerful range hood is essential for maintaining a fresh and healthy kitchen environment, and for modern designs, venting through the ceiling often offers the most aesthetically pleasing and effective solution. This method is particularly common for island cooktops, where no adjacent wall is available for venting. While a ceiling-vented range hood provides superior air extraction and an uncluttered look, its installation demands precision and careful planning.
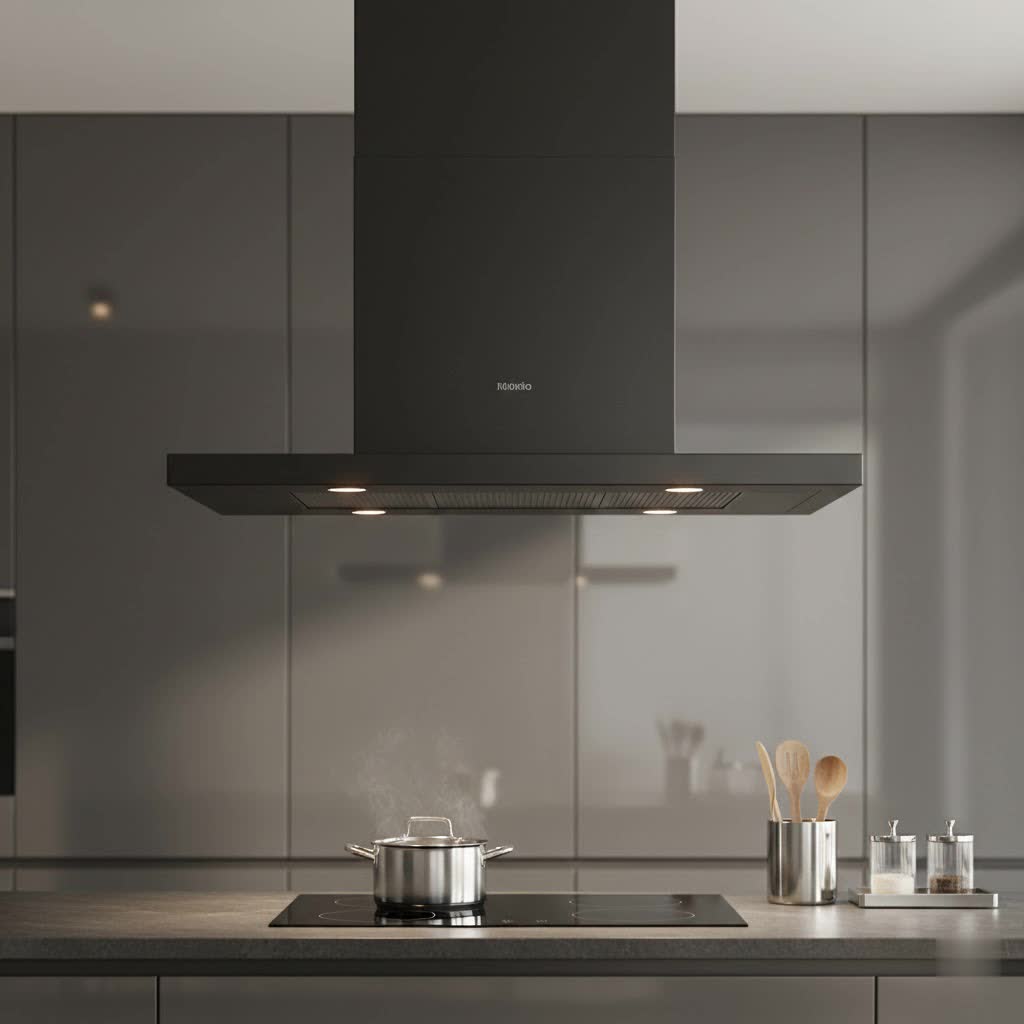
This guide will walk you through everything you need to know about successfully venting a range hood through your ceiling, from understanding the core principles to a detailed step-by-step installation process. We’ll cover crucial planning considerations, essential tools, building code compliance, and tips for optimizing your ventilation system to ensure your kitchen remains a clean, comfortable, and inviting space.
Understanding Ceiling Venting for Range Hoods
Venting a range hood through the ceiling is a powerful way to remove cooking contaminants directly from your kitchen. Unlike recirculating (ductless) hoods that simply filter and return air, a ducted system exhausts stale, grease-laden air outside your home, providing superior air purification. When a wall isn’t available for venting, such as with an island or peninsula cooktop, the ceiling becomes the primary and often the most elegant route for ductwork.
This method typically involves installing ducting vertically through the ceiling cavity, running it through an attic or floor space, and then terminating it through the roof with a specialized cap. Ceiling-mounted range hoods, often called island hoods or flush-mount ceiling hoods, are specifically designed for this purpose. They offer a sleek, unobtrusive design that can enhance the open feel of your kitchen while effectively clearing the air.
However, ceiling venting is generally more complex than wall venting. The air must travel a longer vertical distance, often navigating around joists and structural elements before exiting through the roof. This complexity means that proper planning, adherence to building codes, and careful execution are paramount to ensure optimal performance, prevent costly issues like condensation, and maintain the structural integrity of your home.
Key Considerations for Ceiling Venting Installation
Before you even think about cutting a hole in your ceiling, thorough planning is non-negotiable. Proper preparation ensures a smooth installation, optimal performance, and compliance with safety standards and local regulations.
Local Building Codes and Safety Standards
Local building codes are your blueprint for a safe and compliant installation. These regulations vary by jurisdiction, so always consult your local authority before commencing work. Here are some universal safety essentials and common code requirements:
- Vent Outdoors Only: Always exhaust cooking fumes and grease directly outdoors. Never vent a range hood into an attic, crawlspace, or wall cavity, as this can lead to moisture buildup, mold, fire hazards, and degraded indoor air quality.
- Duct Material: Building codes typically mandate the use of rigid metal ducting (such galvanized steel, stainless steel, or copper) for range hoods. Flexible metal ducting made of stainless steel or aluminum can sometimes be used for short, straight runs, but rigid ducts are generally preferred for their superior airflow and ease of cleaning. Avoid plastic or thin foil flexible ducts entirely, as they are fire hazards and impede airflow significantly.
- Duct Diameter: Maintain the minimum duct diameter specified by your range hood’s manufacturer, which is often 6 inches or larger. Undersized ducts severely restrict airflow, reduce efficiency, and increase noise.
- Makeup Air Systems: For powerful range hoods, typically those with a capacity greater than 400 cubic feet per minute (CFM), local codes may require a makeup air system. This system introduces fresh outdoor air into the home to prevent negative air pressure, which can lead to issues like backdrafting from furnaces or water heaters. The makeup air should ideally be delivered to the kitchen or the room where the range hood is located.
- Exterior Vent Termination: The roof cap or exterior vent must be positioned at least 3 feet away from any windows, doors, or other vents (like bathroom fans). If there’s a powered air intake nearby, the distance may need to increase to 10 feet, or the vent must be at least 3 feet above the intake. Ensure the roof cap includes a backdraft damper to prevent cold air, insects, and debris from entering the ductwork when the hood is off.
- Dedicated Electrical Circuit: Range hoods typically require a dedicated electrical branch circuit to ensure safe and reliable operation of the fan and lights.
|
Our Picks for the Best Range hood in 2026
As an Amazon Associate I earn from qualifying purchases.
|
||
| Num | Product | Action |
|---|---|---|
| 1 | VIKIO HOME Wall Mount Range Hood 30 inch, 580 CFM, Ducted/Ductless Convertible, Stainless Steel Kitchen Vent Hood with 3-Speed Fan and LED Lights |

|
| 2 | SNDOAS 30 inch Range Hood Ducted/Ductless Convertible Stainless Steel Range Hood Under Cabinet with Rocker Button Control,Vent Hood with LED Light,2 Speed Exhaust Fan,Under Cabinet Hood,Silver |
|
| 3 | AMZCHEF Under Cabinet Range Hood 30 Inch, 750CFM Stainless Steel Kitchen Stove Vent Hood 3 Speed Exhaust Fan Touch/Remote/Gesture Control LED lights Time Setting Dishwasher-Safe Baffle Filters |
|
| 4 | COSMO COS-63175S 30 in. Vista Collection 380 CFM Ducted Wall Mount Range Hood, Touch Controls, LED Lights, Stainless Steel |
|
| 5 | COMFEE' CVU30W4AST 30 inch Under Cabinet Ducted/Ductless Convertible Slim Vent Durable Stainless Steel Kitchen Reusable Filter, 3 Speed Exhaust Fan and 1 LED Lights Range Hood, 2.0 Version |
|
| 6 | Broan-NuTone 413001 Non-Ducted Ductless Range Hood with Lights Exhaust Fan for Under Cabinet, 30-Inch, White |
|
| 7 | IKTCH 30-inch Wall Mount Range Hood 900 CFM Ducted/Ductless Convertible, Kitchen Chimney Vent Stainless Steel with Gesture Sensing & Touch Control Switch Panel, 2 Pcs Adjustable Lights(IKP02-30'') |
|
| 8 | Broan-NuTone BCSQ130SS Three-Speed Glacier Under-Cabinet Range Hood with LED Lights ADA Capable, 1.5 Sones, 375 Max Blower CFM, 30-Inch, Stainless Steel |
|
| 9 | Empava Wall Mount Range Hood 30 Inch, Ducted/Ductless Kitchen Exhaust Stove Vent with Modern Style, 400CFM, 3-Speed, Touch Control, Timer, LED Lights, Stainless Steel (Charcoal-Filter Sold Separately) |
|
| 10 | COMFEE' CVU30W2AST Range Hood 30 Inch Ducted Ductless Vent Hood Durable Stainless Steel Kitchen Hood for Under Cabinet with 2 Reusable Filter, 200 CFM, 2 Speed Exhaust Fan Silver |
|
“Ceiling venting requires precision and adherence to code. An improper installation can lead to reduced airflow, moisture issues, and even fire hazards.” – XO Appliance Expert
Mapping the Ductwork Route
The path your ductwork takes is critical for the efficiency and longevity of your ventilation system.
- Shortest and Straightest: Aim for the shortest and straightest possible route from the range hood to the exterior. Every 90-degree bend in the ductwork can reduce airflow efficiency by up to 20%, impacting your hood’s performance. Use gentle, wide-radius elbows if bends are unavoidable.
- Avoid Obstructions: Before cutting, use a stud finder and inspect the ceiling cavity (e.g., in the attic) to identify the location of ceiling joists, electrical wiring, plumbing, and other structural elements. You’ll need to work around these or reinforce them if cutting is necessary. Consulting a licensed contractor or structural engineer if joists need to be altered is always recommended.
- Attic Space: Ensure sufficient attic space for rigid ducting, proper insulation around the duct, and safe access for installation and maintenance.
- Slight Slope: To prevent condensation from dripping back into the kitchen, slightly slope the ductwork toward the exterior vent.
Tools and Materials Checklist
Having all your tools and materials ready before you start will streamline the installation process.
Tools:
- Stud finder and measuring tape
- Pencil or marker
- Drywall saw or reciprocating saw (for ceiling)
- Hole saw (for roof, if applicable)
- Drill and drill bits
- Level
- Sheet metal shears or tin snips
- Caulk gun
- Screwdrivers (Phillips and flathead)
- Wire strippers and pliers
- Safety glasses and gloves
- Ladder (extension ladder for roof access)
Materials:
- Range hood (compatible with ceiling venting)
- Rigid metal ducting (appropriate diameter)
- Duct elbows (if necessary, wide-radius)
- High-temperature foil tape (not cloth-backed duct tape)
- Sheet metal screws
- Metal hanger straps or brackets (to secure ductwork)
- Roof cap with built-in backdraft damper
- Roof flashing and roofing tar or sealant (weatherproof)
- Electrical wiring (appropriate gauge)
- Wire nuts
- Fire-rated caulk or sealant
- Insulation (if ductwork passes through an unconditioned attic)
Step-by-Step Installation Guide
Installing a range hood vent through the ceiling is a significant project that can be tackled by a skilled DIY enthusiast, but professional help is recommended for complex roof work or electrical connections.
1. Preparation and Marking
- Shut Off Power: Before touching any electrical components, locate your home’s main circuit breaker panel and switch off the power to the kitchen area where you’ll be working. Use a voltage tester to confirm that the power is off.
- Position the Range Hood: Carefully position the range hood over your cooktop. Island range hoods typically require specific clearances above the cooking surface (usually 28-36 inches). Consult your manufacturer’s instructions for exact height recommendations.
- Mark the Ceiling: Use the range hood’s template (if provided) or precise measurements to mark the exact location for the hood mounting and the duct opening on your ceiling. Use a stud finder to identify ceiling joists and ensure your duct path avoids them or that you’re prepared to modify them safely if absolutely necessary (consult a professional for joist modification).
2. Cutting the Ceiling and Roof Openings
- Cut the Ceiling Hole: Using a drywall saw or reciprocating saw, carefully cut the marked hole in the ceiling for the ductwork. Take your time to make precise cuts and avoid damaging any hidden wires or pipes.
- Pilot Hole to Roof: From the ceiling hole, drill a small pilot hole straight up through the roof. This will guide you when working on the roof.
- Access the Roof: Safely access your roof using a sturdy ladder. Locate the pilot hole.
- Cut the Roof Hole: Based on the size of your roof cap, mark the corresponding hole on the roof, centering it around your pilot hole. Use a hole saw or reciprocating saw to carefully cut through the roofing materials (shingles, sheathing). Be mindful of any underlying roofing structures.
3. Installing the Ductwork
- Connect to Hood: Attach the first section of rigid ducting to the range hood’s exhaust collar. Secure it using sheet metal screws and seal all seams and connections with high-temperature foil tape for an airtight fit.
- Run Ducting: Extend the ductwork vertically through the ceiling opening. If your duct passes through an unconditioned attic, wrap it with insulation to prevent condensation. Use metal hanger straps or brackets to secure the ductwork to ceiling joists or rafters, ensuring it’s stable and has a slight downward slope towards the exterior to prevent condensation from accumulating.
- Minimize Bends: Keep the duct run as straight as possible. If bends are necessary, use wide-radius elbows rather than sharp 90-degree turns to maintain optimal airflow.
4. Mounting the Range Hood
- Secure Mounting: With the ductwork connected, carefully lift the range hood into its final position. Many ceiling-mounted hoods attach directly to reinforced ceiling joists or a custom-built support frame. Ensure the hood is perfectly level and securely fastened according to the manufacturer’s instructions. You may need an extra pair of hands for this step due to the hood’s weight.
5. Electrical Connections
- Wire the Hood: If your range hood requires electrical connections, follow the manufacturer’s wiring diagram precisely. Connect the hood’s electrical wires to your home’s electrical supply using wire nuts. Ensure all connections are secure and properly insulated. If you’re unsure about electrical work, always consult a licensed electrician.
- Conceal Wiring: Once connections are made, tuck all wiring neatly into the hood’s housing or ceiling cavity, ensuring it’s not pinched or exposed.
6. Finishing the Exterior Vent
- Install Roof Cap: Place the roof cap over the duct opening on your roof, ensuring the duct extends fully into the cap. Secure the roof cap to the roof deck with screws.
- Install Flashing and Seal: Install roof flashing around the base of the roof cap, weaving it into your existing roofing shingles according to best practices. Apply a generous bead of roofing tar or high-quality sealant around the edges of the flashing and any screw heads to create a watertight seal, preventing leaks.
7. Final Checks and Testing
- Restore Power: Once all connections are made and the installation is complete, return to your circuit breaker panel and restore power to the kitchen.
- Test Functionality: Turn on your range hood. Test all fan speeds and lights. You should feel strong suction beneath the hood and a consistent airflow exiting from the roof vent. Listen for any unusual noises, vibrations, or rattling.
- Inspect for Leaks: Check duct joints and the roof cap area for any air leaks. Use fire-rated caulk or sealant to seal any gaps in the ceiling around the hood.
- Reinstall Components: Reinstall any filters, covers, or decorative elements that were removed during the installation process.
Optimizing Your Ceiling Venting System
Beyond basic installation, a few key practices can significantly enhance your ceiling-vented range hood’s performance and longevity.
Duct Material and Size
Always prioritize rigid metal ducting. Its smooth interior surface minimizes air resistance, allowing your range hood to operate at peak efficiency with less noise. While some flexible metal options exist, rigid ducts are superior for straight runs and overall performance. Adhere strictly to the manufacturer’s recommended duct diameter; upsizing can sometimes improve airflow, but never downsize, as it severely restricts the system.
Minimizing Bends
As noted, every 90-degree turn drastically reduces your hood’s effective CFM. When planning your duct route, strive for the straightest path possible to the outside. If bends are unavoidable, use wide-radius elbows, which create less turbulence and maintain better airflow compared to sharp, cramped turns. Think of it like a highway: gentle curves allow traffic to flow smoothly, while sharp corners cause bottlenecks.
Sealing and Insulation
An airtight seal throughout your ductwork is crucial. Use high-temperature foil tape (specifically designed for ductwork, not standard cloth-backed duct tape) to seal all seams and connections securely. This prevents air leaks, which can diminish performance and allow grease and odors to escape into your attic or ceiling cavity.
If your duct runs through an unconditioned space like an attic, insulate it thoroughly. Insulating the duct helps prevent condensation from forming inside the cold duct when warm, humid cooking air passes through it. This condensation can otherwise drip back into your kitchen or lead to moisture damage in your ceiling.
Conclusion
Venting a range hood through the ceiling offers an elegant and highly effective solution for maintaining a pristine kitchen environment, especially for island cooktops where aesthetics and powerful ventilation are paramount. While the installation demands careful planning, adherence to building codes, and meticulous execution, the rewards of a fresh, clean, and odor-free kitchen are well worth the effort.
By choosing the right range hood for ceiling installation, meticulously planning your duct route, using appropriate materials, and following each step of the installation process, you can achieve professional, code-compliant results. Remember to prioritize safety, especially with electrical work and roof access. A well-installed ceiling-vented range hood not only enhances your home’s air quality but also contributes to a more enjoyable cooking and living experience.
Ready to transform your kitchen’s air quality and elevate its design? A properly vented range hood can be the centerpiece of a truly modern and healthy home.
Frequently Asked Questions
What type of duct is best for ceiling venting?
Rigid metal ducting (such as galvanized steel or stainless steel) is the best choice for ceiling venting. Its smooth interior allows for optimal airflow, reduces noise, and minimizes grease buildup. While flexible metal ducting can sometimes be used for very short runs, rigid ducts offer superior performance and are highly recommended for efficiency and compliance.
Can I vent a range hood into the attic?
No, you should never vent a range hood into an attic, crawlspace, or any enclosed interior space. Doing so can lead to dangerous moisture buildup, which encourages mold growth, structural damage, and creates a significant fire hazard due to accumulating grease particles. All range hood vents must terminate directly to the outdoors.
How far should a range hood vent be from a window?
Generally, a range hood vent should terminate at least 3 feet away from any windows, doors, or other vents. This prevents exhausted air, odors, and grease particles from re-entering your home. If there’s a powered air intake nearby, the required distance might increase to 10 feet, or the vent should be at least 3 feet above the intake.
Do I need a professional for ceiling venting?
While a skilled DIY enthusiast can perform a ceiling vent installation, it is a complex project that often involves electrical work, cutting through roofing, and navigating structural elements. If you are uncomfortable with any part of the process, especially working on the roof or making electrical connections, it is highly recommended to hire a licensed contractor or an experienced professional to ensure safety, compliance, and optimal performance.